As more RV enthusiasts embrace the freedom of off-grid living, one question consistently comes up: how can I power my RV without relying on campgrounds or the grid? The answer? Solar panels! Installing solar panels on your RV is one of the best ways to ensure you have the power you need to enjoy your adventures, whether you’re camping in remote areas or living the RV life full-time.
In this comprehensive guide, we’ll walk you through the entire process of installing solar panels on your RV. From planning to maintenance, you’ll learn everything you need to know to set up a solar power system that works for you.
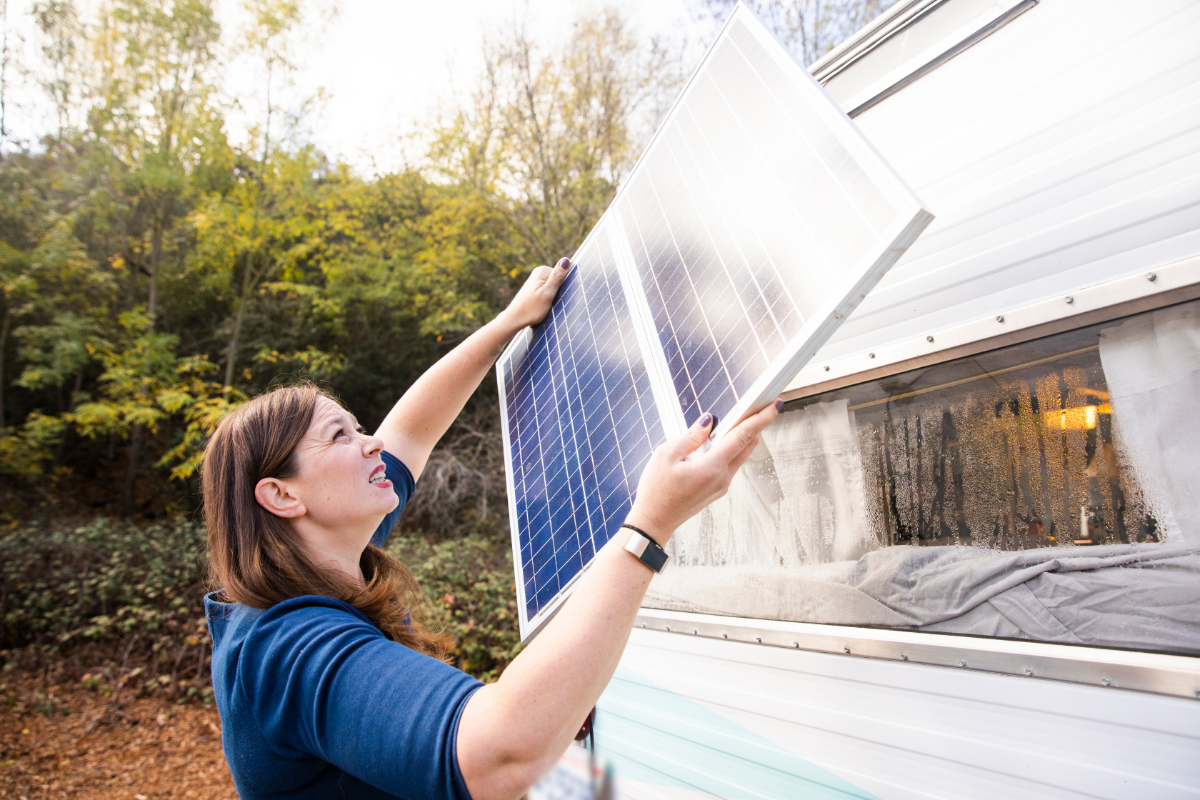
Why Solar Panels Are a Game-Changer for RV Life
Solar power offers the ultimate in freedom for RV owners. No longer will you have to worry about finding a campsite with electric hookups. With solar panels, you can generate your own electricity to power lights, fans, fridges, and even electronics. Plus, you’ll be reducing your environmental impact by utilizing clean, renewable energy.
Benefits of Solar Energy for RV Owners
- Independence: With solar panels, you’re not tied to RV parks or generators. Enjoy the flexibility of going off-grid.
- Cost Savings: Over time, solar panels can save you money by reducing your dependence on campground electric fees and fuel for generators.
- Sustainability: Solar panels reduce your carbon footprint, contributing to a greener planet.
- Quiet Operation: Unlike noisy generators, solar panels work silently, making your RV experience more peaceful.
What You Need to Know Before Installing Solar Panels on Your RV
Understanding Solar Power Basics
Before diving into installation, it’s essential to understand how solar energy works. Solar panels convert sunlight into electricity using photovoltaic (PV) cells. This energy is then stored in batteries for later use. The key components of a solar system include the solar panels, charge controller, batteries, and inverter.
Types of Solar Panels Suitable for RVs
There are two main types of solar panels you’ll want to consider for your RV:
- Monocrystalline Panels: These are the most efficient and compact, making them ideal for space-limited RVs.
- Polycrystalline Panels: These are typically less expensive but take up more space and are slightly less efficient.
Choosing the right panel depends on your energy needs and available roof space.
Planning Your RV Solar System
Assessing Your Energy Needs
Before you begin, it’s crucial to calculate how much power you’ll require. Consider the appliances you’ll be using, such as lights, a refrigerator, fans, and electronics. Once you have a rough idea of your daily energy consumption, you can estimate how many solar panels and batteries you’ll need to meet those demands.
Choosing the Right Solar Panels for Your RV
Now that you understand your energy needs, you can select the appropriate solar panels. Typically, RV solar systems range from 100 to 600 watts, with larger systems being necessary for high-energy usage, such as running air conditioners.
Necessary Tools and Equipment for Installation
Essential Tools
- Power drill with bits
- Wrenches
- Wire cutters/strippers
- Soldering iron (optional for connections)
- Silicone sealant
Components You’ll Need for Your Solar System
- Solar panels
- Charge controller
- Batteries (deep cycle recommended)
- Inverter
- Wiring (heavy-duty cable)
- Mounting hardware
Step 1: Determine the Best Location for Your Solar Panels
Roof Space Considerations
Measure the available space on your RV roof to ensure you have enough room for your solar panels. If space is limited, you may need to consider flexible solar panels, which can be mounted directly to the roof without the need for heavy brackets.
Positioning for Maximum Sunlight Exposure
Your panels should face south (if you’re in the northern hemisphere) to maximize sunlight exposure. Tilt them at an angle to optimize efficiency throughout the day.
Step 2: Mounting the Solar Panels on Your RV Roof
Using Solar Panel Mounting Brackets
Use mounting brackets to secure the panels to the roof. You’ll need to drill holes into the roof, so ensure you seal any gaps properly to prevent leaks.
Securing the Panels Safely
Once the panels are securely mounted, check for tightness and stability. Use silicone sealant to ensure no water can get under the panels.
Step 3: Wiring the Solar Panels to the Charge Controller
Connecting the Positive and Negative Wires
Wiring the panels to the charge controller is relatively simple. Connect the positive (+) wire from the solar panels to the positive terminal of the charge controller, and do the same for the negative (-) wire.
Mounting the Charge Controller Properly
Install the charge controller in a cool, dry, and well-ventilated area, typically close to your battery system.
Step 4: Connecting the Charge Controller to the Battery
Choosing the Right Battery for Your RV Solar System
Choose a deep cycle battery that can store energy for longer periods. Lithium-ion batteries are the best for RV solar systems due to their efficiency and long lifespan.
Wiring the Charge Controller to the Battery
Connect the charge controller’s battery terminals to the positive and negative terminals of your battery. This allows the charge controller to regulate the flow of electricity into the battery.
Step 5: Connecting the Inverter to Power Your Appliances
Understanding the Role of an Inverter
An inverter converts the DC (direct current) electricity from the battery into AC (alternating current) electricity, which is used to power most RV appliances.
Connecting the Inverter to Your Battery
Once the inverter is installed, connect it to the battery and ensure all connections are secure.
Step 6: Test Your Solar Power System
Ensuring Proper Functionality
After everything is connected, test your system by checking the charge controller’s display and verifying that the solar panels are generating power.
Troubleshooting Common Issues
If you notice any issues with the system, such as the batteries not charging or the inverter not powering up, check your connections and ensure all components are functioning properly.
Step 7: Maintaining Your RV Solar System
Regular Cleaning and Inspection
Keep your solar panels clean to ensure maximum efficiency. Inspect them regularly for damage or wear.
Maximizing Your Solar Panel Lifespan
By maintaining your system and using it efficiently, you can extend the lifespan of your solar panels for many years.
Installing solar panels on your RV can seem like a daunting task, but with the right tools and knowledge, it’s a manageable and rewarding project. Not only will you reduce your carbon footprint, but you’ll also enjoy the freedom of a self-sustaining power system on the road.
Enjoy the peace of mind that comes with knowing you’re never without power, no matter where your RV adventures take you!